I’m not sure if it’s the part about me where I’m an organizational freak, or if it’s the part where I’ve been “designing” my own bedroom since I was like eight years old, but as a creative entrepreneur working from home, an aesthetically pleasing workspace is directly proportional with my drive for positive productivity. Or…that’s what I’ve been telling myself at least. Shh…
But really. I think when you work a job that requires you to be on your toes in the creativity department, it’s very important to have a workspace that mirrors that. Additionally, for a while now, I’ve had a vision of a place where I could meet with brides and prospective clients that was professional, inviting, and most importantly, me. A space that fit my style, that fit my brand, and that fit all of the warmth and professionalism I want with my clients and friends. Because almost all of the time, my clients become dear friends. And the more my brand has come to define me–who I am and what I represent–the more this rings true. Which truly, y’all, is what I have always envisioned–a business that exudes warmth and top-notch professionalism, but where my clients feel like they know me enough for us to cozy up on my couch with a glass of wine and cheese and have the best conversation.
Anyhow, more on that topic is actually for another time. This blog is just a small introduction into my workspace, and moreso, how FLIPPING AWESOME my parents are. Seriously. If you follow me on Instagram, you know that my parents built me this amazing wine shelving similar to one I loved at Pottery Barn. The wine shelving? Oh yeah, they refurbished it from an old entertainment center. I’m truly bragging about them because this is a disclaimer: I HAVE NO HANDS ON TALENT WITH BUILDING OR PUTTING THINGS TOGETHER, WHATSOEVER. Seriously, it’s embarrassing. But hey, everyone has their strengths, and my beautiful parents have the best knack for refurbishing and building things. My mom says it’s stress relief. My dad? Well, he grunts and groans a little, but I think he loves it. (;
Their newest project, after I sent them a photo I liked from Wouldn’t it Be Lovely, is this ahhhmazing shelving made from plumbing pipes that has my office almost complete. This would have been incredibly hard for my talents, but according to my dad, it was “fairly simple” in the putting together world of things–for those of you now itching to try it (small tutorial below). But scroll on, and enjoy the beginnings of my new workspace…

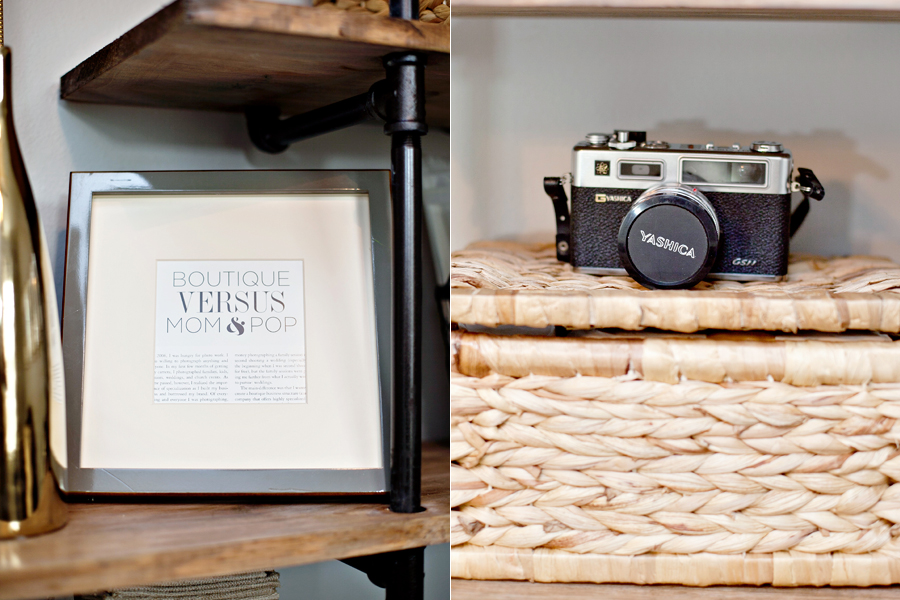
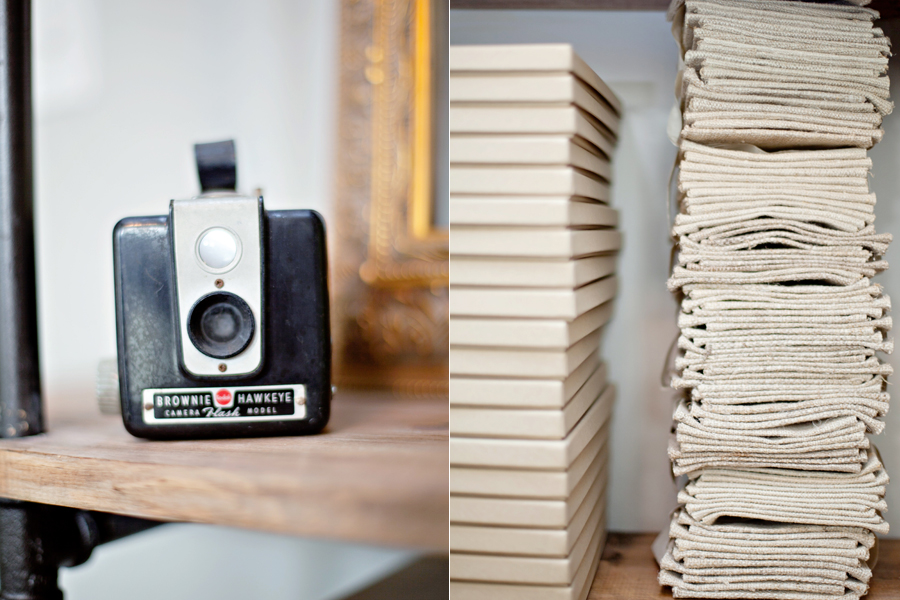
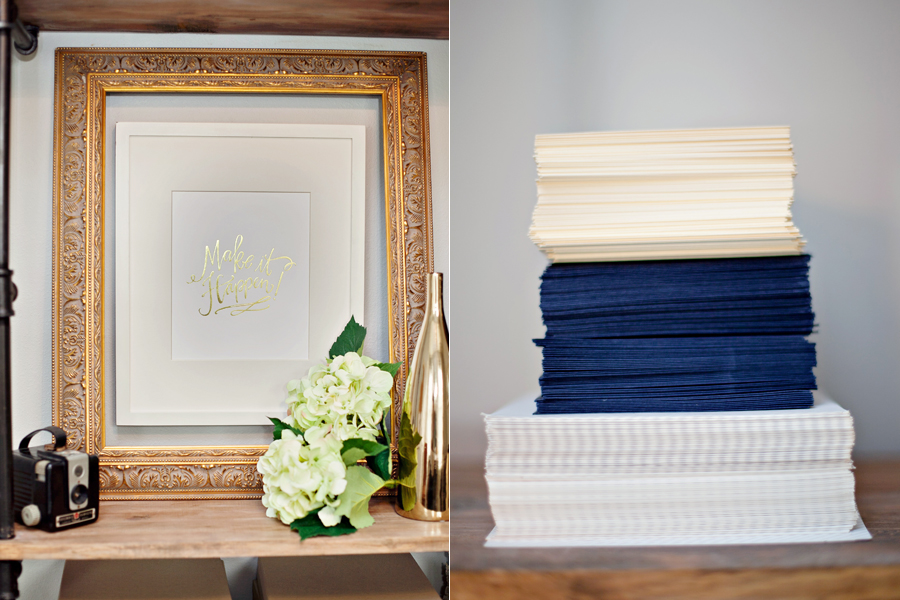
Almost everything on my shelves has some sort of significance. This magazine clipping is from one of the first-ever photographers to inspire me to follow my whims and enter the wedding industry. To create a journey for myself that would give me the courage to define my style and embrace the vision I had for an experience between my clients and I, instead of taking every job that came my way. And the lovely vintage cameras? Compliments if my way cool father-in-law. He finds the most awesome of things.
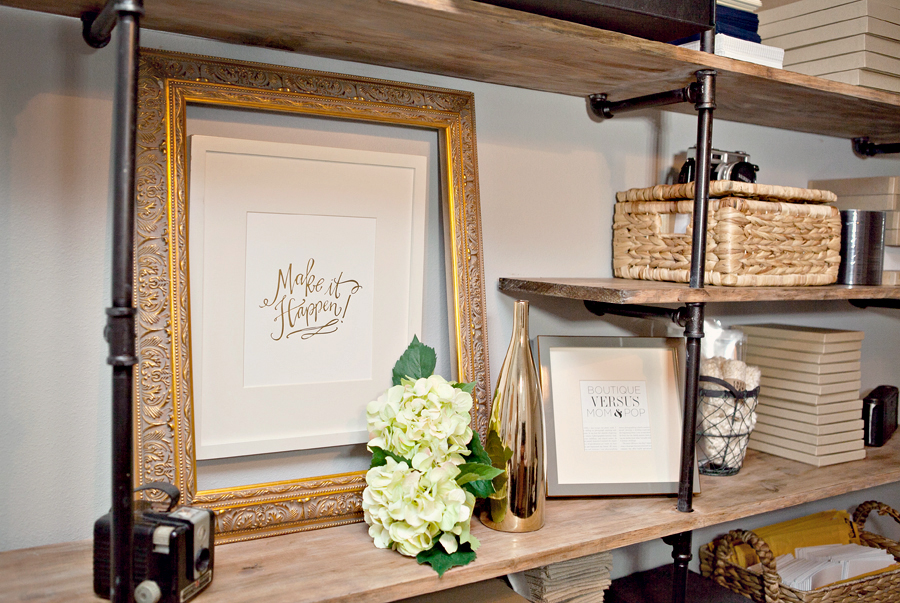

This last photo may not seem like much, but for me, it has the most significance to me on the entire shelf. Lara Casey‘s Make it Happen print holds so much weight in my heart for the journey I’ve been on this past year identifying my brand, my business, and what matters most. It reminds me that I only have one life and executing it as beautifully and meaningfully as I can by filling it with as much love and beauty as I can, is what is important.
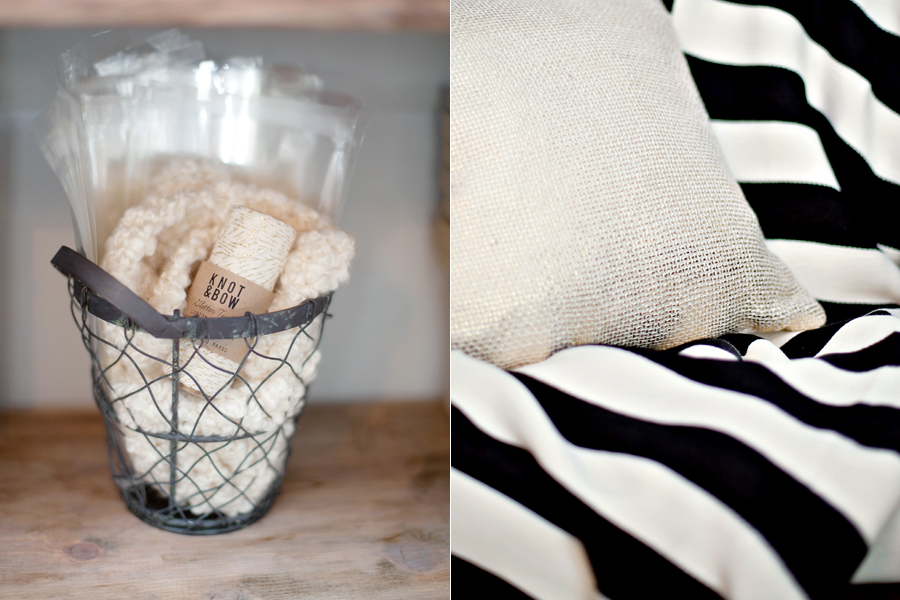
And those stack of babies on the right? That’s the beautiful new stationary that goes out to my clients. (:
For those of you now wanting to try this at home, materials for the shelf alone costed me $254.81 (tax included). Not bad, considering all furniture I was considering buying with this much storage space and style was at least double that.
We roughly used the outline of directions from Wouldn’t it Be Lovely, but tweaked it a little.
Here’s what he used:
Tools:
– Power Screwdriver/Drill
– Stud Finder
– 1″ Hole Saw
– Circular Saw/ Hand Saw/ Table Saw (or some other way to cut the boards to length)
Channel lock pliers or pipe wrench
Materials:
– black 1/2 inch pre-threaded pipe (I got mine at Home depot) I bought the following lengths for this shelf:
– 6 of 12 inch
– 3 of 10 inch
– 9 of 18 inch
– 11 of 8 inch
– 14 elbows
– 12 three-joint connectors (AKA Tees)
– 6 wall brackets (AKA end flanges)
– 4- 1 x 12 boards, (we used #2 & better pine because we wanted a knotty look) 3 cut 78 inches & 1 cut 46 inches( these lengths allow 7 inches hanging out on each end of pipes, if you desire less shorten accordingly)
wood stain
#14×2 inch wood screws
Directions:
– Clean the pipes, this is messy, but helps a lot
– Paint Pipes with Oil Rubbed Bronze Spray Paint. We used Rust-oleum Universal Metallic Oil Rubbed Bronze.
– Using the Stud-Finder, find the Studs in your walls that are best spaced for the shelf & mark them.
– Mark where the corresponding holes will need to be on the pine (32 inches on center, apart from each other), drill 1 inch hole 1 1/8 inches to center from outside edge, this will leave 5/8 inch of board to edge so it won’t break during assembly.
NOTE: You will only need holes in the front.
– Stain the wood & let dry according to stain directions. I wanted my wood a little white-washed to match my style, so my mom used Annie Sloan paint, then wiped off, and added Annie Sloan Dark Wax to get this effect.
We actually didn’t even screw into the floor, just the top wall, and everything is quite secure. Trust me, my dad is a triple checker.
– Start building from the bottom up, screwing the pipe into the brackets and joints,
adding the boards as you go. NOTE: the backs of the shelves are resting on the elbow joint, it’s very
sturdy and does not need to be attached in any other way than through the one pipe in front. Once
assembled, make sure everything is level and lines up before you screw the brackets into the wall.
So, there you go. If you feel like being handy, go get it! Happy Tuesday!




+ show Comments
- Hide Comments
add a comment